Baked Spaghetti Squash

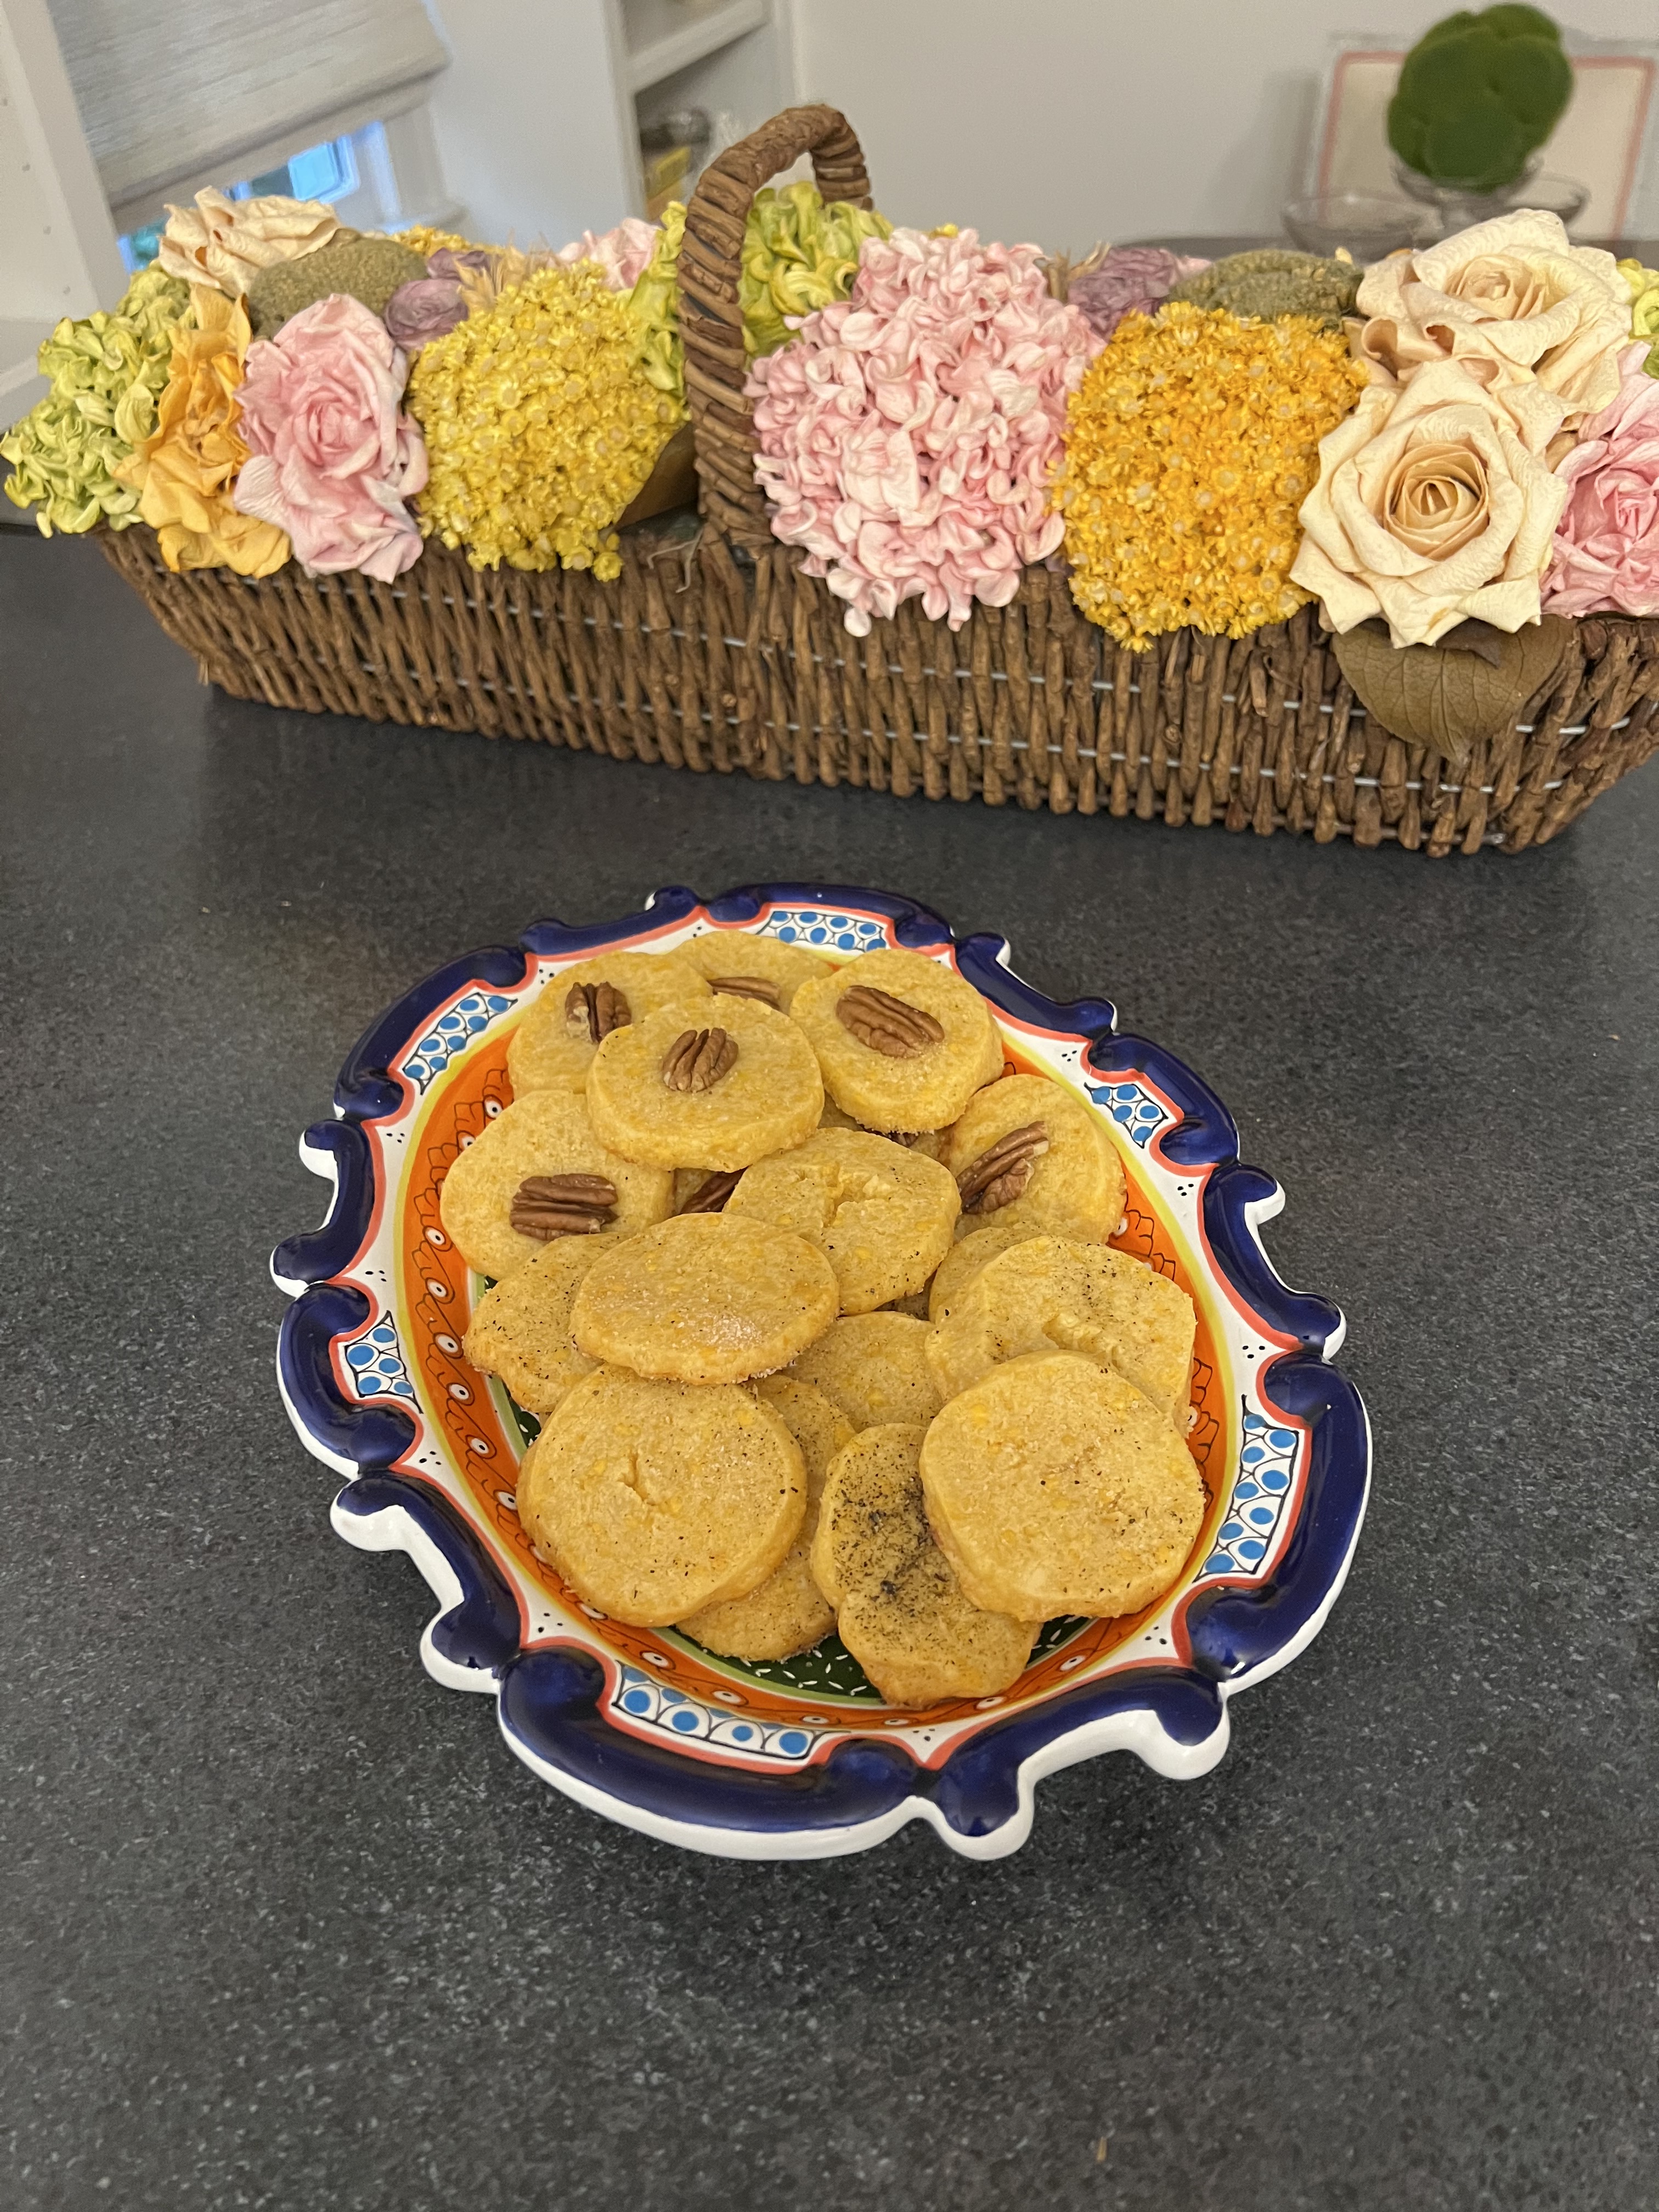
Canyon Ranch, be still my heart, soul, and body. I would like to write you a love letter, because you provided so much positive assistance to me; alas, I pause…sort of! I have a series of recipes based on my Ranch experience. They cook with uncommon creativity, making everything healthy and tasty. I’m revealing secrets from the premier health institute in the USA. Enjoy. This is a national treasure and I’m certain that this recipe (and more shortly) will become a staple on your spreadsheet. Hit the pause button and enjoy. Sending love, good health, and lots of happiness!

Medium spaghetti squash
Pinch salt
Pinch black pepper
Baking spray to prep baking sheet

Images: Top Left ~ Whole Spaghetti Squash – Top Right ~ Top half seeded, bottom half, not!
Lower Left ~ Face down on cooking sheet – Lower Right ~ Straight out of the oven

Preheat oven to 375°.
Spray baking sheet with small amount of canola oil.
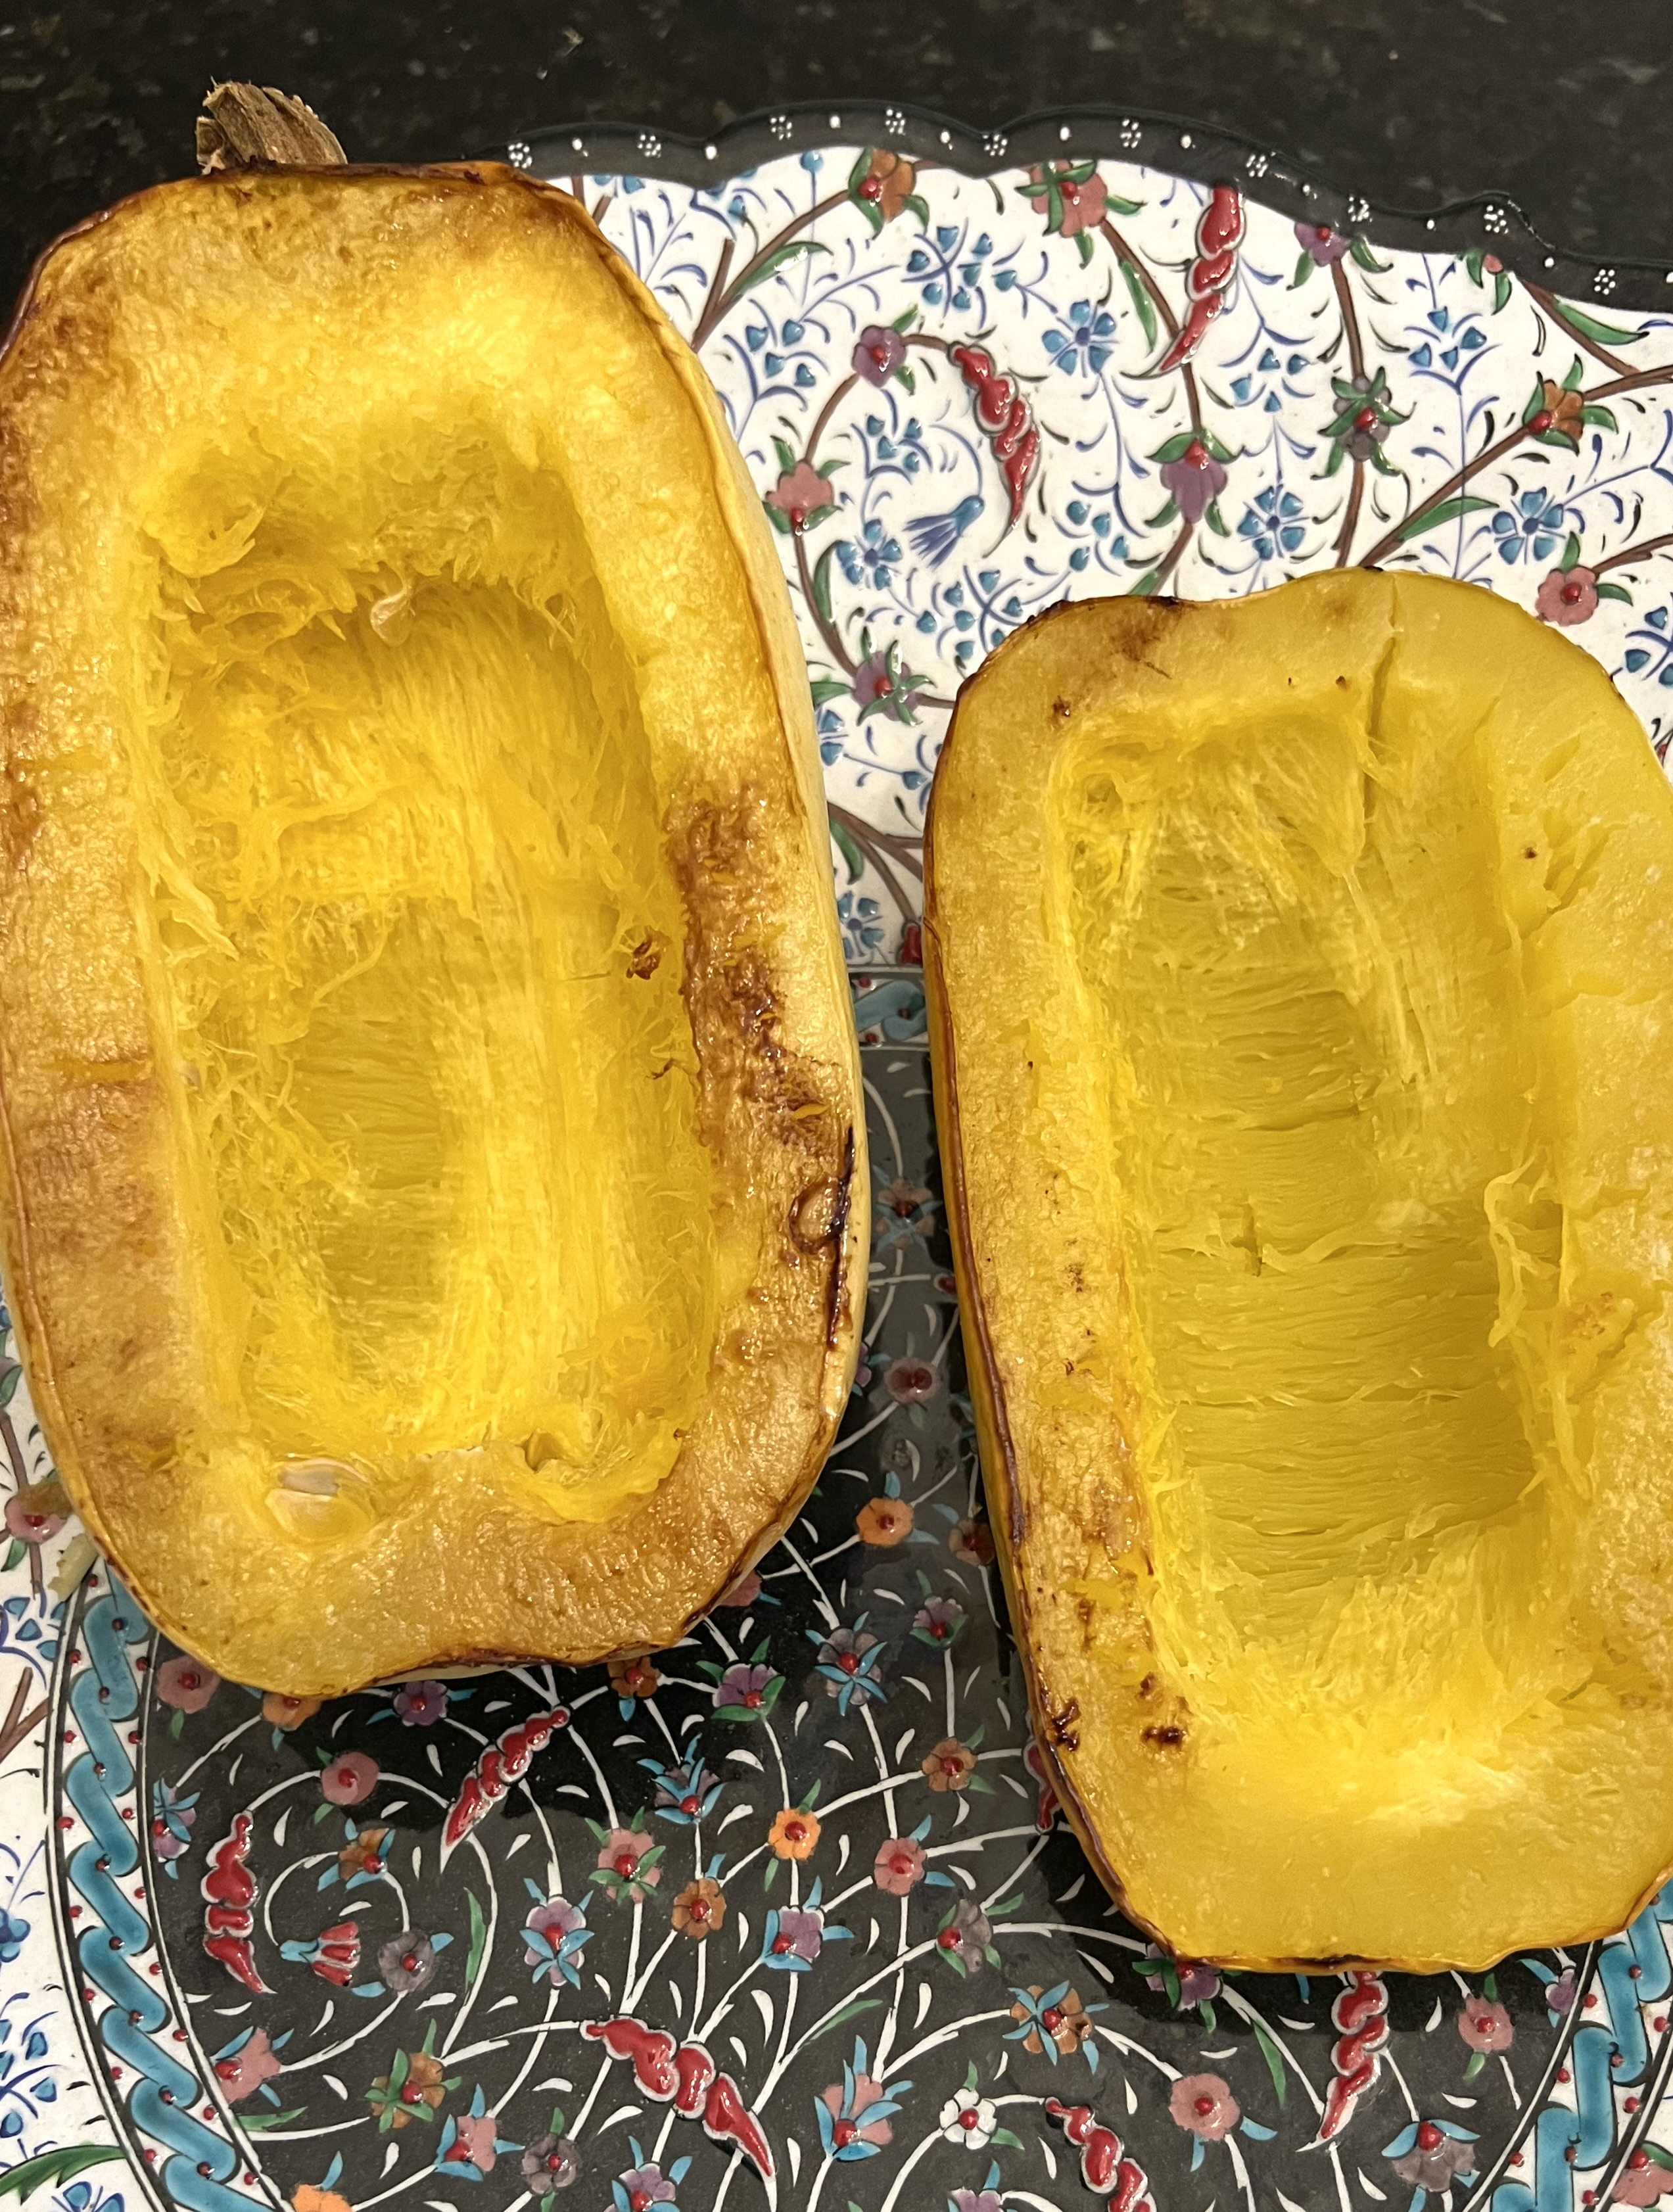
Cut spaghetti squash in half.
Scoop out seeds.
Place cut side down on baking sheet.
Bake 45 minutes or until soft.
Remove from oven and set aside until cool enough to handle.
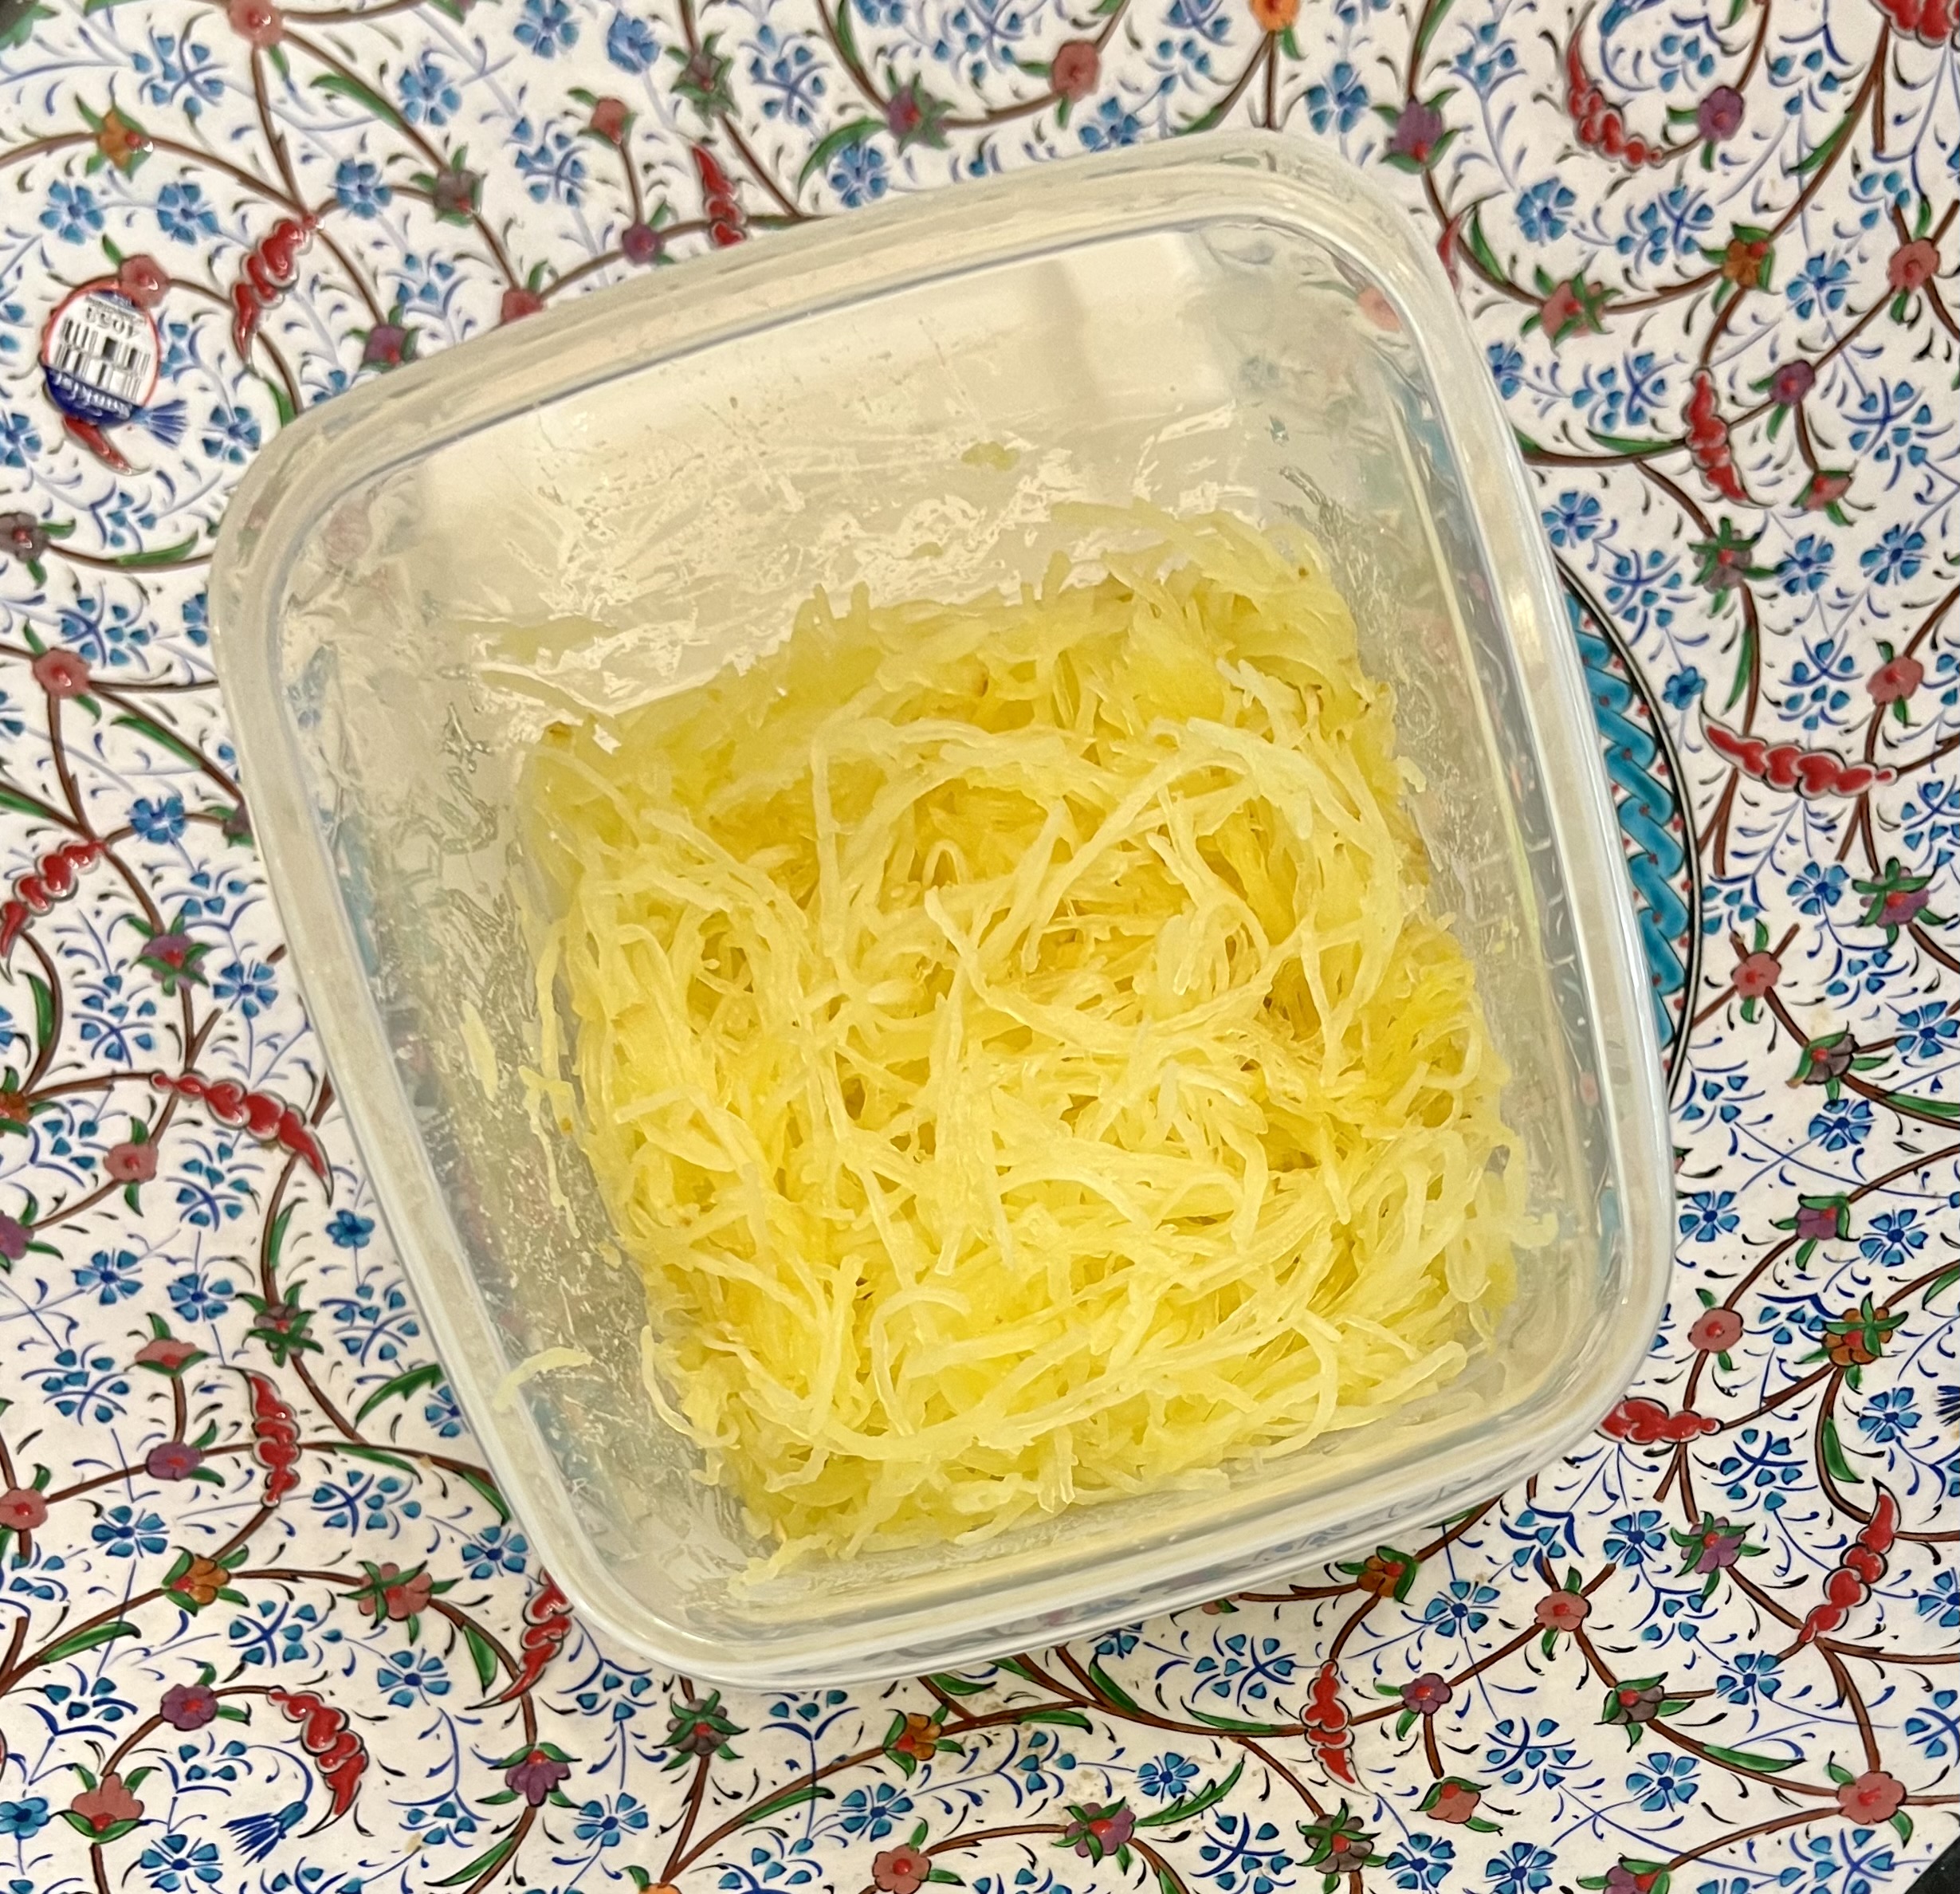
Shred squash with a fork into a bowl.
Makes 6 one cup servings.
35 cal per serving.

I add this baked version to a salad for extra flavor and fiber.
I really love this plain, warm out of the oven, room temp, or chilled.
The “add ons” can enhance the flavor if so desired.
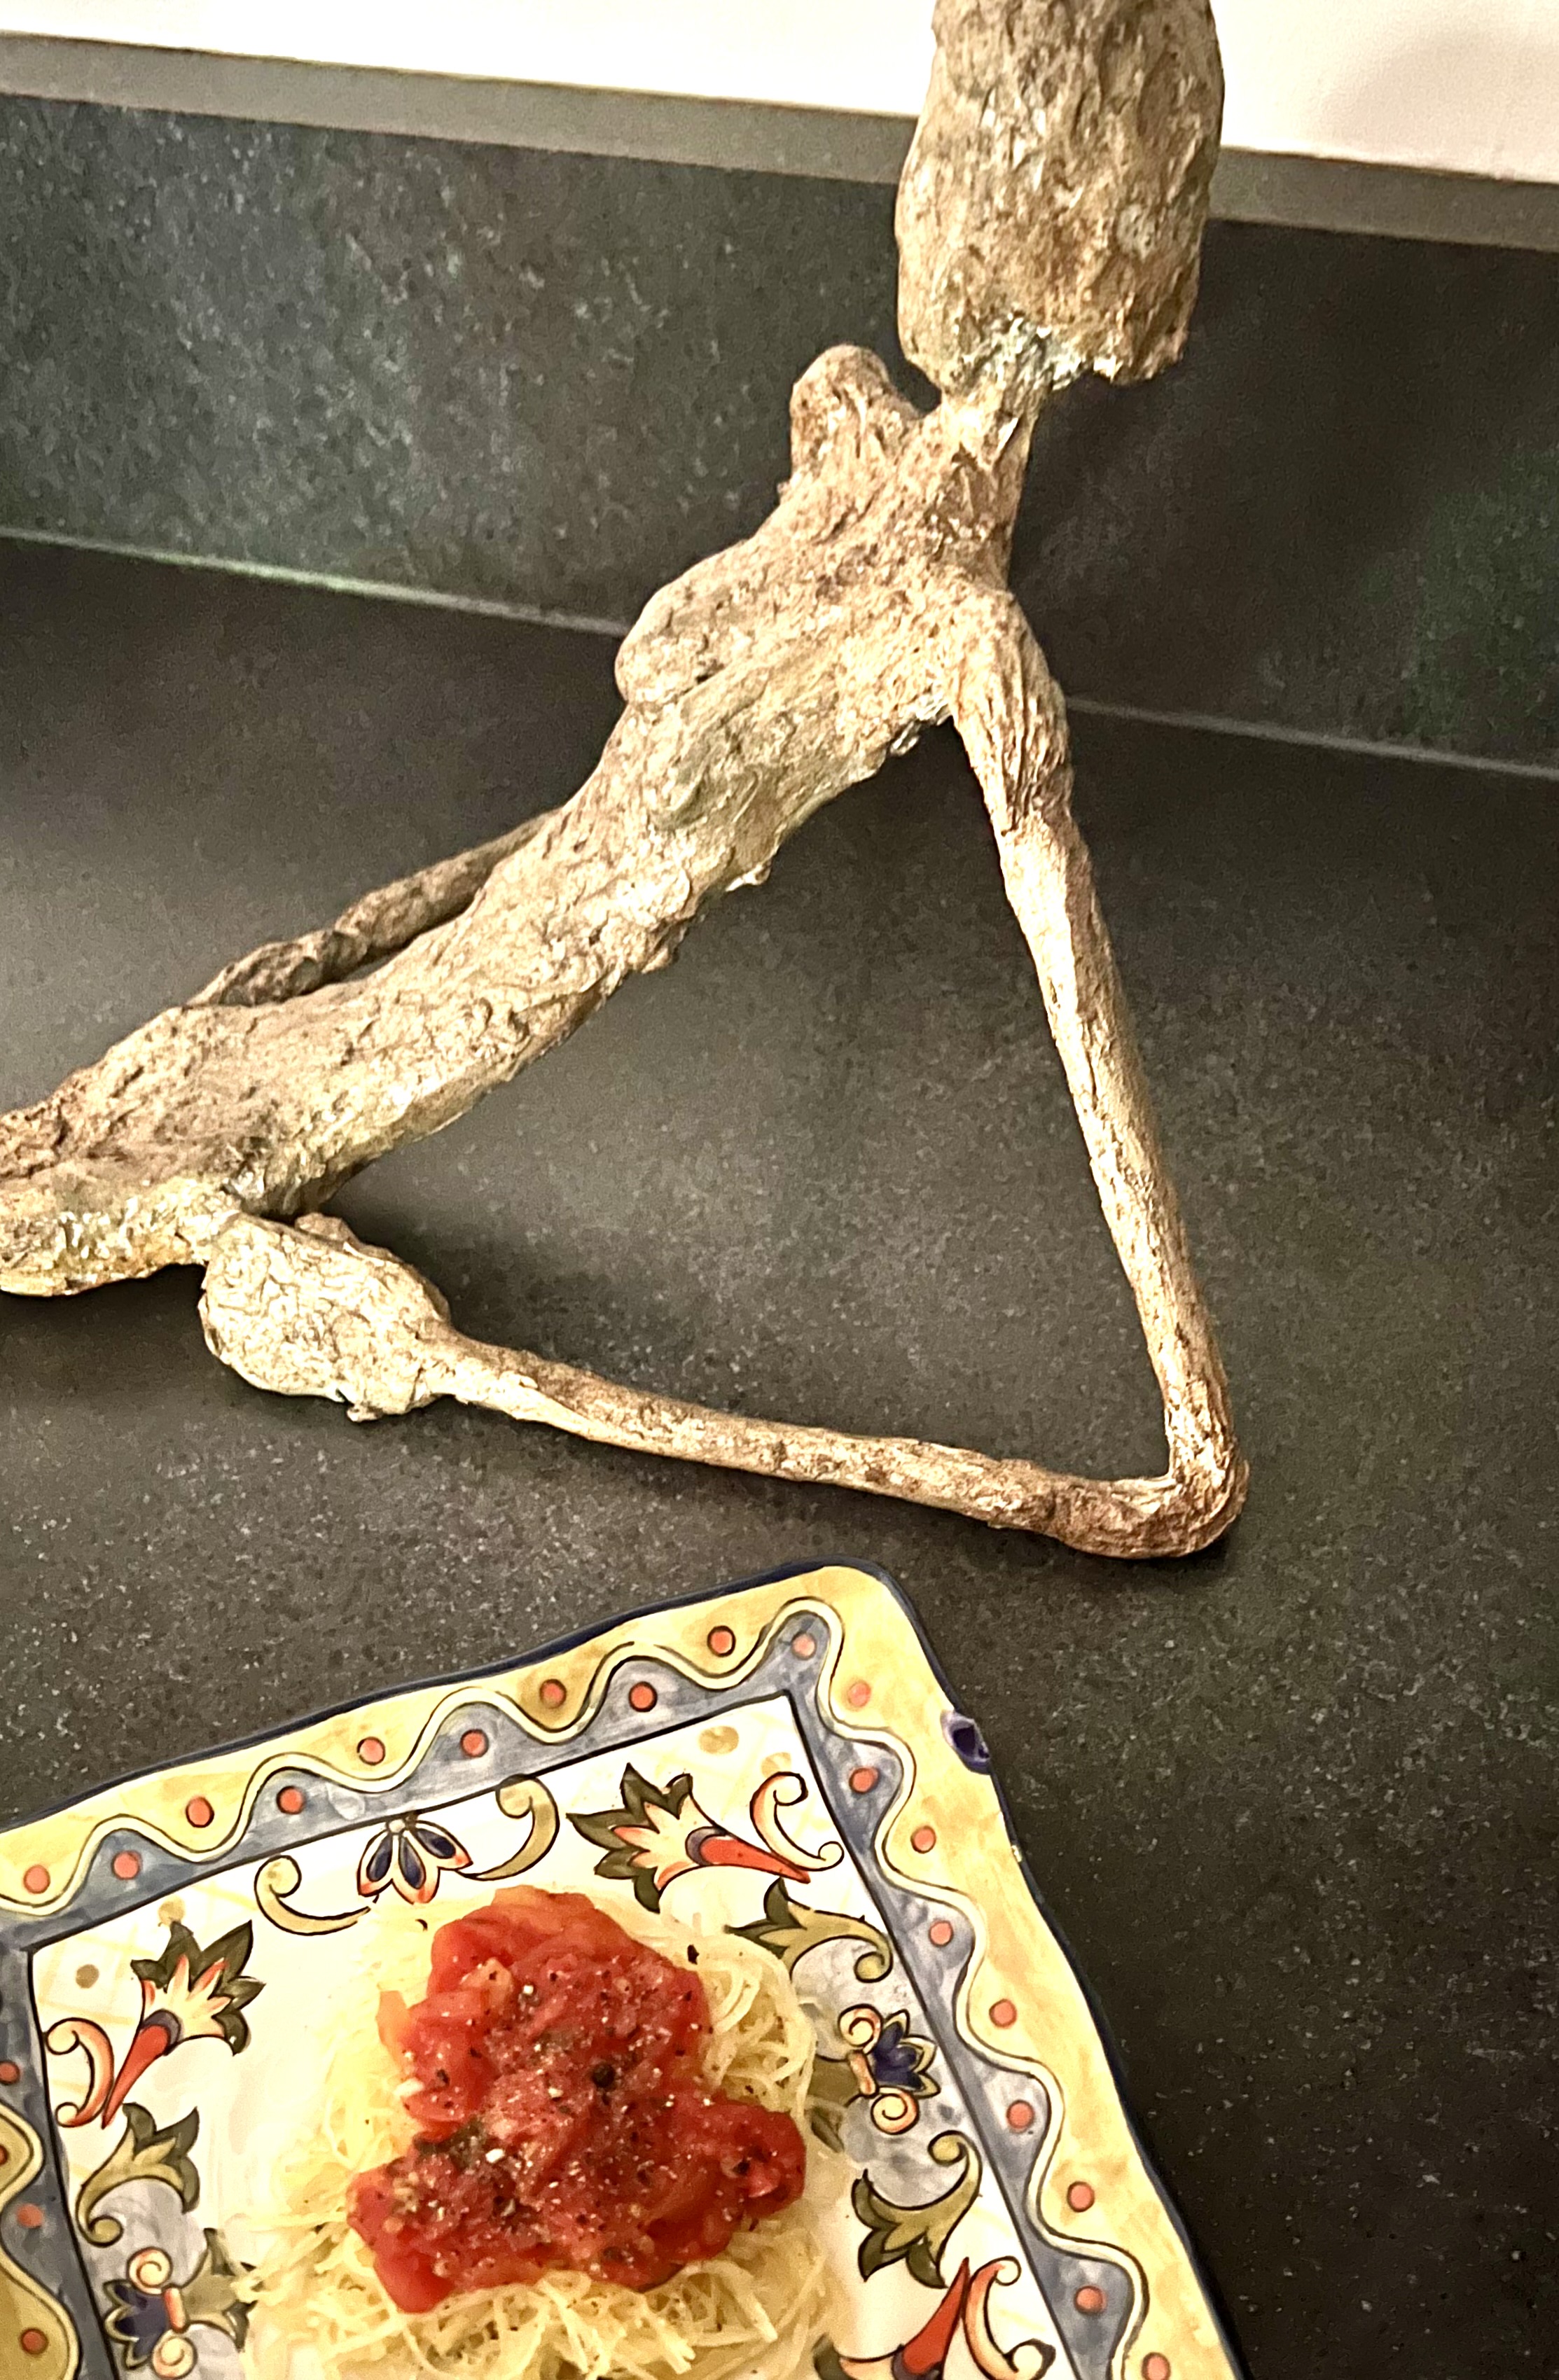
You may add spaghetti sauce, maple syrup, Parmesan cheese, or top up a sandwich if you’re in the mood, just for extra fun. Pictured below is the squash topped with my homemade tomato sauce, along side a sculpture from my private collection by Jeff Kiefer.

Slice and Bake Cheese Wafers

School Days, School Days, Dear ole Golden School Days…Children arrive home “hangry”. So have this prepped and ready in your fanny pack (I hear they’re making a comeback!). I suggest forgetting the pecans for your grade schoolers, but that version may be nice for a dinner party app for friends, also fun to sprinkle with a bit of powdered sugar. Just thinking out loud. Food is meant to temp as well as to nourish. Perfect snack. Afterall, Life is Too Short for Dull Food! Go Bake it!

1 stick butter, sliced
2 cups coarsely grated extra sharp cheddar cheese
1/2 cup finely grated Parmesan cheese
1/2 t kosher salt, plus more for sprinkling on top
1/4 t cayenne pepper
1 cup all purpose flour
Garnishes may be powered sugar, pecan halves, sliced olives, thyme leaves.

Combine butter, cheeses, salt, cayenne, and flour in food processor.
Pulse several times until crumbly.
Process 30 seconds more until a mass forms.
Transfer dough to sheet of parchment paper.
Roll into log about 2 inches in diameter.
Wrap in the parchment and refrigerate for at least an hour, or overnight.

Preheat oven to 350 degrees.
Cut the chilled dough into 1/4 inch slices.
Arrange on parchment lined baking sheet.
Top with preferred garnish if you like.
Bake 12 minutes or until golden and crisp.
Immediately sprinkle with salt.
Transfer to wire rack to cool.
Wafers can be stored in airtight container for up to a week.

This cheese wafer is the good-time, slice and bake cousin of the cheese straw.
Keep a log of cheese wafer dough in the fridge, and in 20 minutes you have a delicious little treat.
Dough may be wrapped in parchment, then in aluminum foil, then placed in zip top freezer bag. It may be frozen for 3 months.

Freezing Fresh Corn

The very best thing on earth after the corn season is over is fresh Silver Queen sweet corn during the winter. So I’m going to teach you the easy peasy way to stock your freezer. I use it all fall and winter in soups, stews, and as a side starch for dinner.  I froze 2 bushels this past weekend, which made 30 quart bags. So to break it down for the less ambitious, 42 ears of corn will make 8 quart sized bags, just half filled, so that they lay flat to freeze. Yummy…So, step by step, here you go.

Freezing Corn I

Bring large pot of water to boil. Drop ears of corn in. Blanch 2 1/2 minutes.

Freezing Corn II

Using tongs, transfer cooked ears of corn to ice bath for 3 minutes to stop cooking process and cool corn. (Make an ice bath by filling sink partially with cold water, and adding ice.)

Freezing Corn III

Remove ears of corn from ice bath and place on kitchen towels to dry for 10 minutes.

Freezing Corn IV

Remove kernels from cob. I find this easiest to stand an ear on the raised part of a bundt pan, letting the kernels collect in the pan.

Freezing Corn V

I use quart size freezer bags to freeze. I fill each bag about half way, so that I can then press all air out of bags and lay them flat to freeze.

PostScript…you have about 3 weeks left here in ENC to secure your Silver Queen corn and get it frozen! Post to the PostScript…It took me two hours to process 42 ears of corn and get it in the freezer. I used 2 pots of boiling water and each held 8 ears of corn at a time.

Freezing Fresh Butter Beans

Starch Freezing Butter Beans

Ready for the Freezer, Anxiously Waiting for the Winter Yummy Stews!

The time is now! Butter beans are coming out of the fields; these are the smaller more tender beans, as opposed to the larger, tougher lima beans. So…1. Run to your local farmer, or Farmers’ Market if you dwell in a larger city 2. Grab several quarts of shelled beans (trust me, you don’t want to shell them) and 3. Get your freezing game going. On the cold dreary days of winter…yes, it will get cool then cold again, and I can’t WAIT…you will be so happy that you froze these local gems. They will be available for another three weeks in the south and a bit longer in more northern areas; so the time is plentiful! For planning purposes: I froze 22 quarts yesterday and it took roughly two and a half hours. Part of the beauty was that I was rocking to my favorite Pandora stations in my 68 degree kitchen (yep, that’s right, 68 degrees!) while some idiots great folks were running around outside in the 100 degree heat. You are aware that I abhor heat, humidity, and mosquitoes, right?!  A tutorial isn’t even necessary; here’s how you do it:

Wash shelled butter beans thoroughly, removing any debris.
Heat large pot of water to boiling.
Add as many beans as pot will hold. (My large pot holds 4 quarts.)
Blanch in boiling water for 2 minutes. (Water does not have to come to a boil again.)
Drain and cool immediately in ice water bath for 5 minutes. (Mix cold water with ice in large bowl and pour in beans.)
Drain well.
Dry on large towel in thin layer.Starch Freezing Butter Beans II
Package in freezer zip top plastic bags.
Squeeze as much air out as possible.
Seal, and freeze up to 9 months.Starch Lima Beans Freezing II